Measure a Gauge Swatch Without Stretching the Answer
Measure stitches and rows over a clear central area so your gauge describes the fabric you actually made.
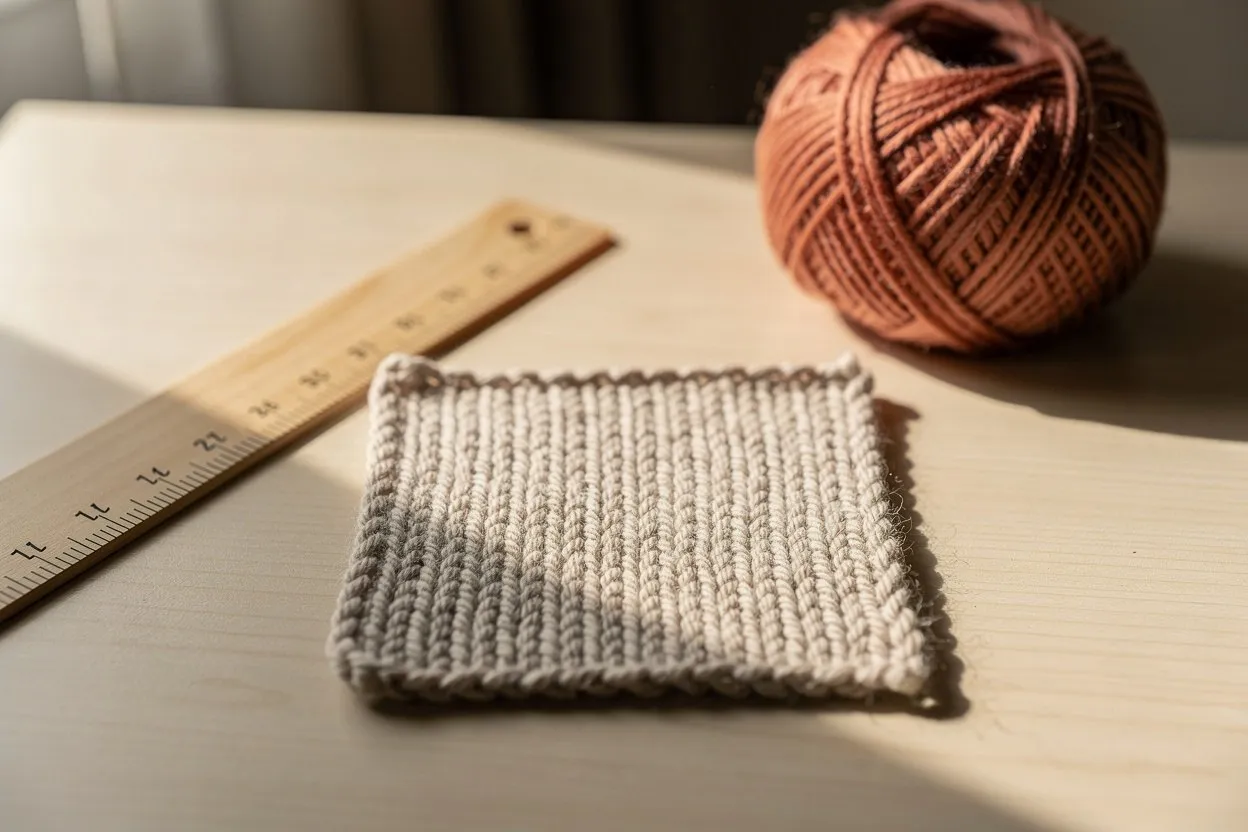
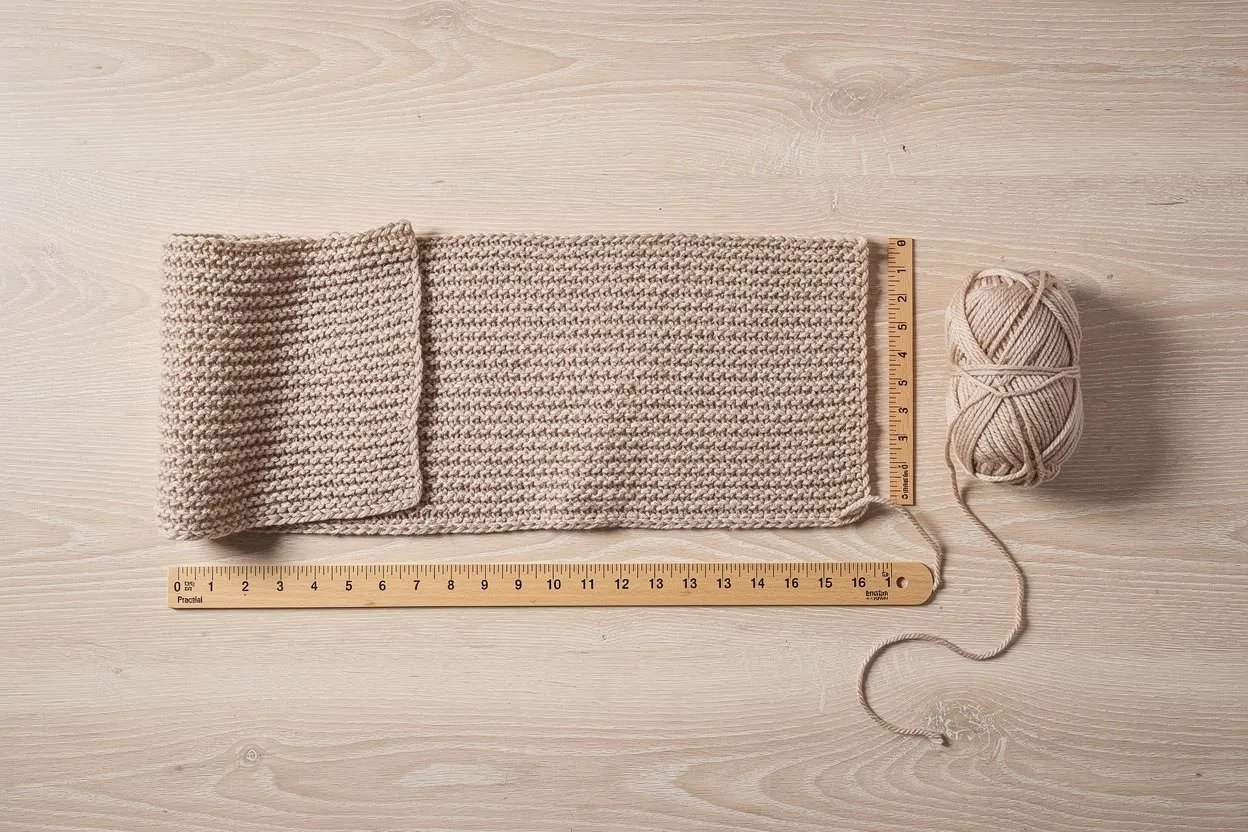
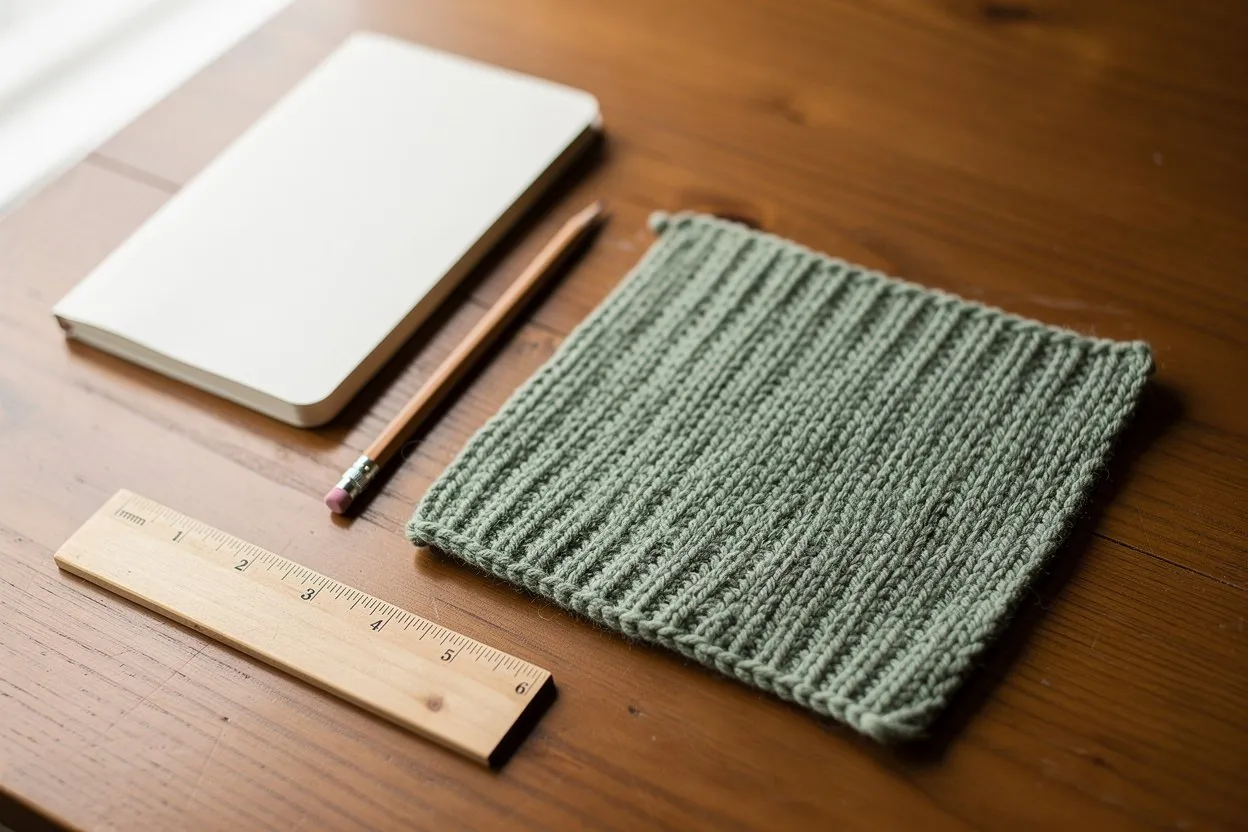
Gauge connects stitches and rows to physical size. A swatch gives you a small piece of the planned fabric to measure before committing to the full project. It is most useful when made with the intended yarn, needles and stitch pattern, then treated as the finished item will be treated. The objective is to discover the result, not to make the ruler confirm the number you wanted.
Make enough fabric to measure the middle
Follow the pattern’s swatching instructions and leave enough surrounding fabric that the measured area is not dominated by the edges. Edges can curl or behave differently from the central stitches. Use the same construction method where practical; a sample worked flat may not describe your circular knitting exactly.
The Craft Yarn Council gauge guide emphasizes making the specified sample and counting its stitches and rows. For your own project, use the pattern’s required measuring area and stitch pattern rather than assuming that every sample should be identical.
Finish the sample before the final measurement
Follow the yarn care instructions and any pattern guidance for washing, drying or blocking. Let the sample settle and dry as directed before measuring it. Record what you did so that you can repeat the treatment on another swatch or the finished piece.
Place the fabric on a flat surface without pulling it into shape just to meet the required number. If the pattern specifies a particular blocked measurement, follow that method and record it. An unsupported stretched measurement is not a reliable description of the fabric during ordinary use.
Count over a known central distance
Position the ruler so the start and end of the measuring interval are clear. Count the stitches across that interval, including a partial stitch where appropriate rather than forcing the count to a whole number. Repeat in another central location to see whether the sample is reasonably consistent.
Measure rows separately in the direction specified by the pattern. Stitch gauge and row gauge affect different dimensions. Matching one does not guarantee the other will match. Record the measuring distance with each count; “20 stitches” is incomplete without knowing whether it was counted across 10 centimetres, 4 inches or another width.
Use the measurement, then check the fabric
Enter the measured values into the gauge calculator for simple sizing arithmetic. If the gauge differs from the pattern, follow appropriate pattern guidance, adjust the setup and make another sample when necessary. Do not assume that changing only the stitch count will preserve shaping and construction in a fitted garment.
Keep the swatch with its yarn, needle and care notes. Also note whether you like the fabric’s drape and firmness. A number can be correct while the fabric is unsuitable for the intended purpose. The useful outcome is a repeatable measurement and an acceptable fabric, giving you a sound basis for the project rather than a rushed check that has to be revisited after many hours of knitting.