Adjust the Size of a Simple Knitted Rectangle
Plan width and length separately, preserve the stitch pattern and check the fabric as you work.
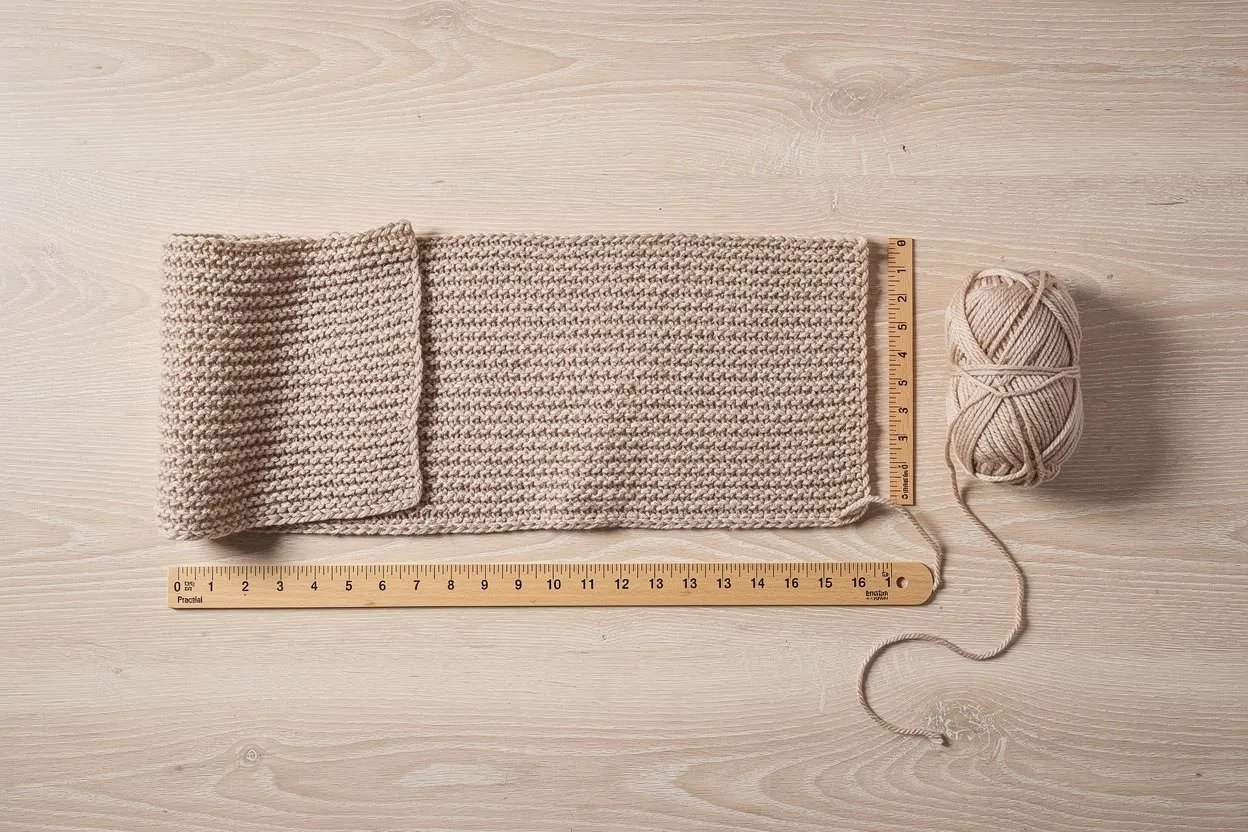
A simple rectangle is a useful place to learn sizing because its width and length can be considered separately. Width usually relates to the number of stitches, while length relates to the rows or the measured distance worked. Even here, edges and stitch repeats matter. Start with a clear target and a reliable swatch, and keep the changes small enough that you can explain each one.
Define the finished dimensions
Write the desired width and length in one unit system. Specify whether those measurements describe the fabric after the intended washing or blocking. A measurement taken while the work is stretched on needles may not represent the finished object.
Choose a pattern suitable for a rectangular piece and read how its edges are made. If the piece will later be joined to another section, the dimensions and stitch counts may need to coordinate with that construction. Do not treat a garment panel as an isolated rectangle without reading the assembly instructions.
Calculate a starting width
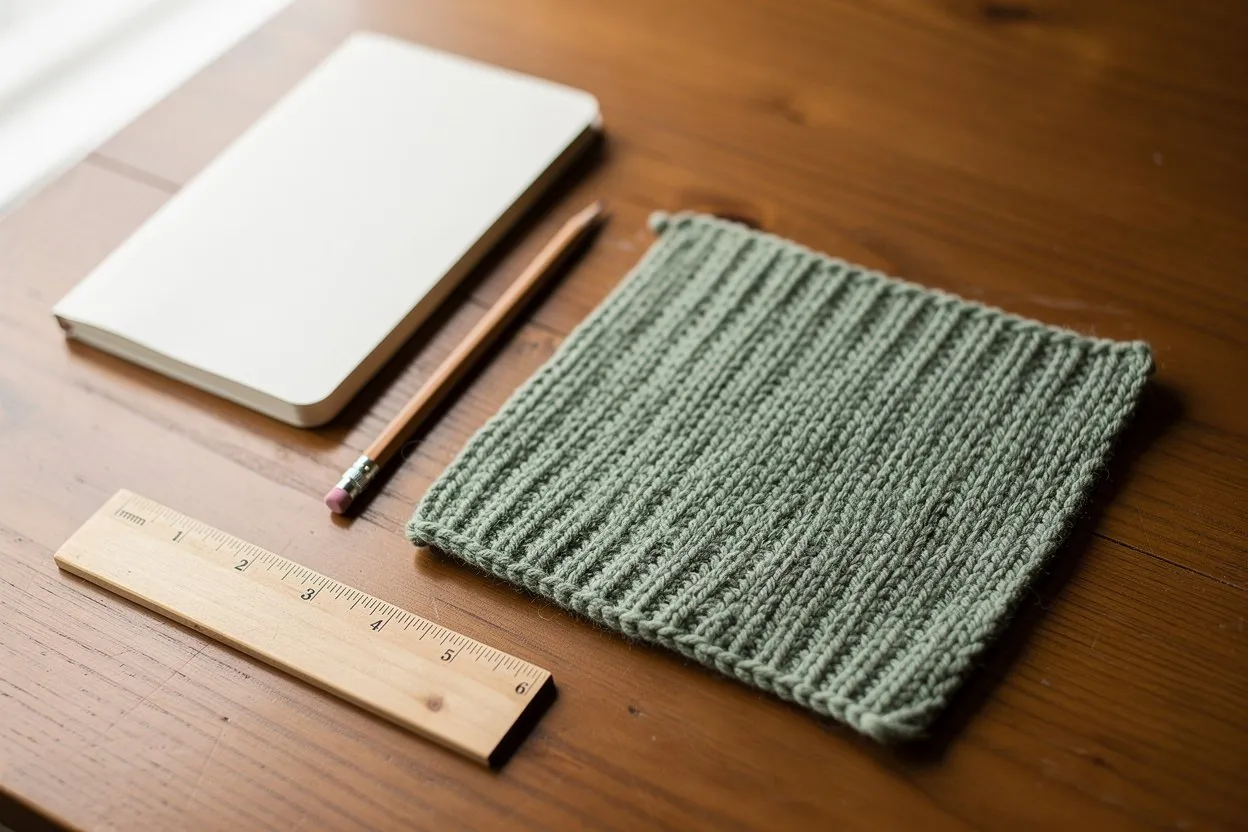
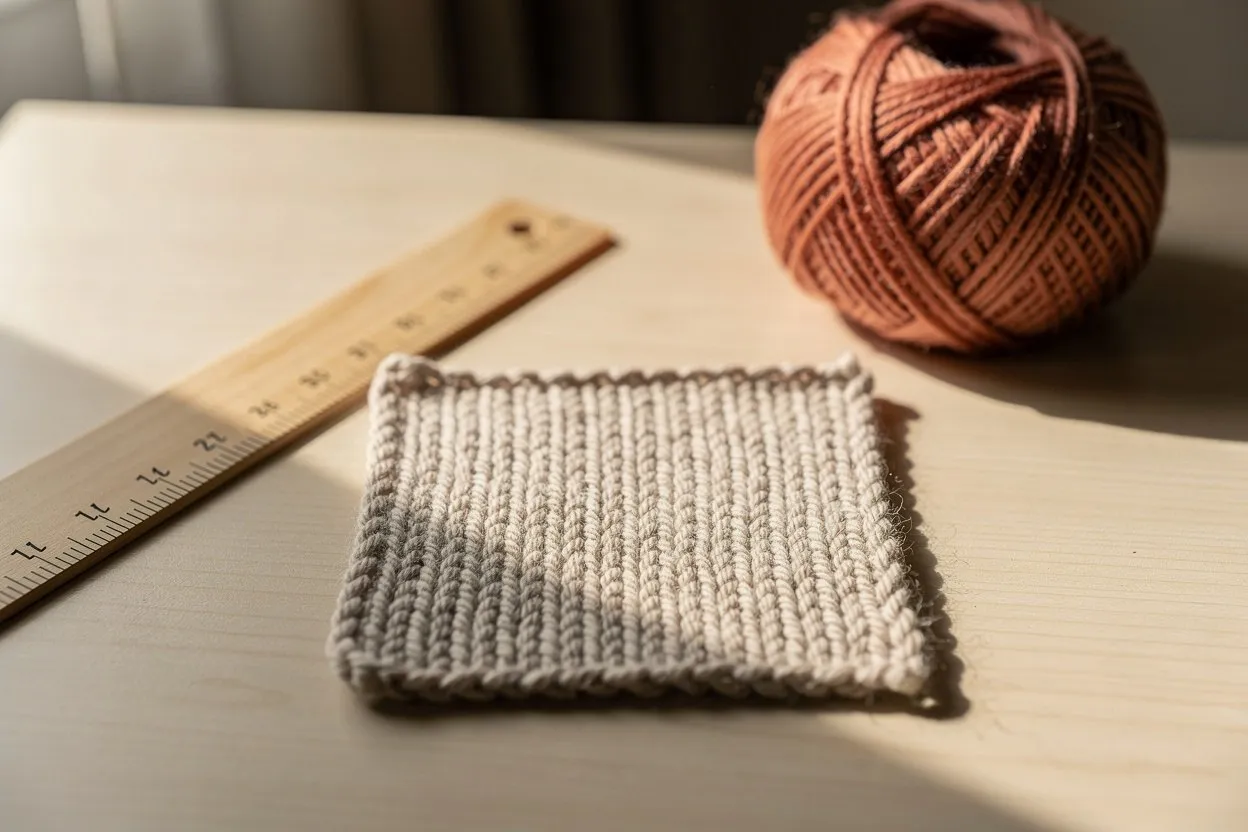
Measure stitch gauge from a representative sample. If the fabric has 18 stitches across 10 centimetres and you want a 20 centimetre width, the basic ratio gives 36 stitches. Use the gauge calculator to check this arithmetic, then apply the stitch repeat and edge rules in the pattern.
Suppose the valid totals are multiples of four plus two. The nearest choices around 36 would be 34 and 38, not 36 itself. At the example gauge, those totals imply different widths. Decide which result suits the project or adjust the setup and sample again rather than ignoring the repeat requirement.
Plan length with the appropriate method
If the instructions say to work until a measured length is reached, check the actual fabric periodically. The row counter is useful for recording progress and for making a matching second piece, but it does not replace the measurement when your tension changes.
If you use row gauge to estimate a row count, keep it separate from stitch gauge. For example, 28 rows across 10 centimetres implies approximately 56 rows for 20 centimetres under the same conditions. Pattern repeats may require a suitable finishing row, so the final length can involve another deliberate adjustment.
Check before the rectangle becomes large
After enough rows have formed a stable section, check width and fabric quality against the plan. Early measurements can be affected by the cast-on edge, so compare thoughtfully rather than reacting to one distorted row. If the difference is substantial, review the gauge and setup before continuing.
Record the chosen stitch count, any repeat adjustment, row convention and finished dimensions. Follow the pattern for binding off and finishing, then measure the treated piece again. These notes give you a reusable method for the next simple rectangle. They do not automatically extend to shaped garments, where fit and construction require additional design decisions.