Convert Your Measured Gauge Into a Simple Stitch Count
Use a clear ratio to estimate stitches for a target width, then account for repeats, edges and rounding.
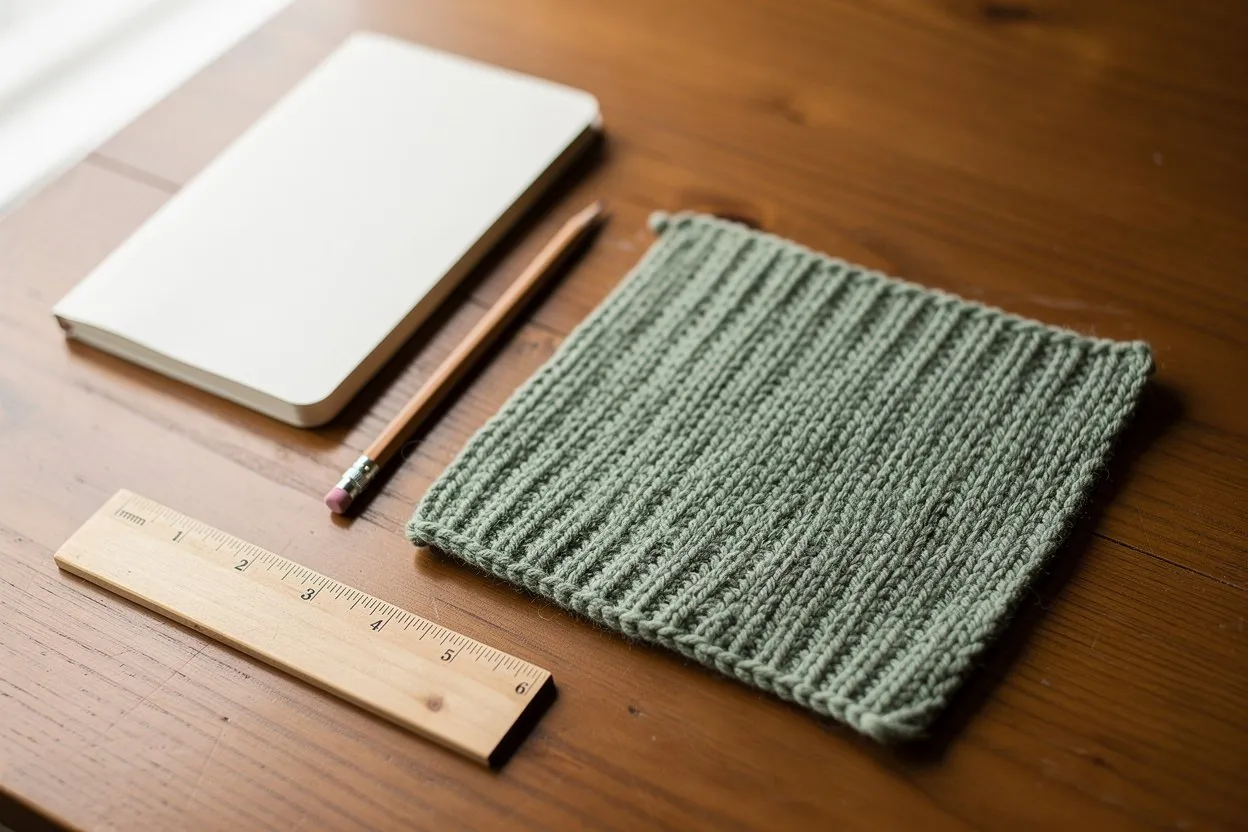
For a simple rectangular piece, gauge can be used as a ratio: stitches per unit of width multiplied by the target width. The arithmetic is easy to check, but it is only one part of the project. Pattern repeats, edges, shaping and the behavior of the finished fabric still matter. Use the calculation to understand the size relationship rather than treating it as an automatic rewrite of any pattern.
Keep the measurement complete
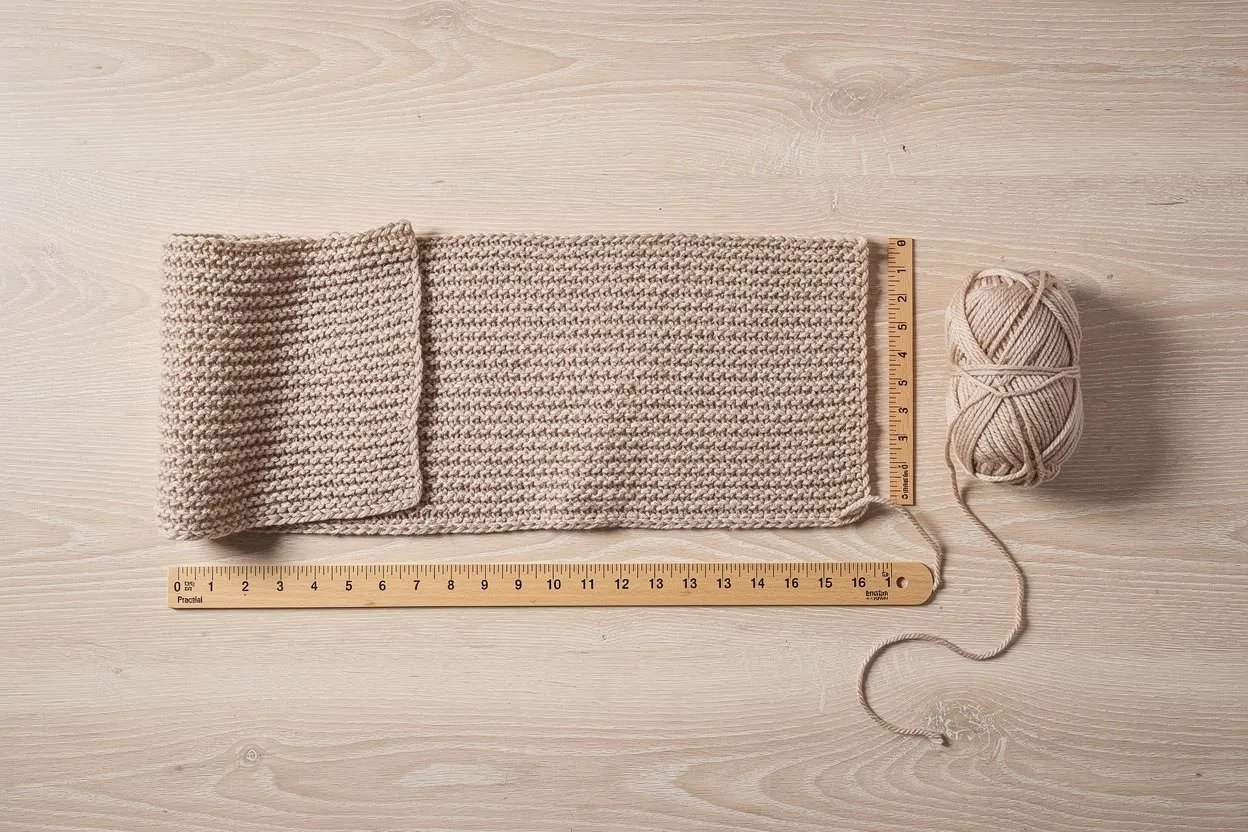
Record both the stitch count and the width across which it was measured. A gauge of 22 stitches across 10 centimetres means 2.2 stitches per centimetre. A target width of 30 centimetres therefore corresponds to 66 stitches before pattern-specific adjustments.
If you measure in inches, keep the target width in inches too or convert it deliberately. Ten centimetres and four inches are close but not identical: four inches is 10.16 centimetres. Use the actual measured distance rather than swapping labels because they often appear beside each other on patterns.
Write the ratio before rounding
The basic formula is measured stitches divided by measured width, multiplied by target width. If 19 stitches occupy 10 centimetres and the target is 25 centimetres, the result is 47.5 stitches. You cannot normally cast on half a stitch, so a practical count needs a rounding decision.
Compare the nearby whole counts with the pattern requirements. At that gauge, 48 stitches corresponds to approximately 25.26 centimetres, while 47 corresponds to approximately 24.74 centimetres. These values describe the arithmetic; the actual fabric may vary with tension, care and measurement.
Apply repeats and edges separately
A stitch pattern may require a multiple plus extra edge stitches. A raw count of 48 may be valid for one repeat and invalid for another. Read the pattern’s definition carefully: some totals include the edges, while others state the repeating section separately.
After choosing a valid total, calculate the implied width again. This makes the compromise visible. Do not keep the original target width in the notes if the adjusted count produces a different estimate. If the difference matters, consider a different gauge or pattern approach and sample it before proceeding.
Know where this method stops
Use the gauge calculator for this basic ratio and save the assumptions with the project. A fitted garment, shaped neckline or complex construction may require much more than changing the cast-on count. Follow the pattern designer’s sizing guidance rather than scaling every number by one factor.
Measure a treated swatch that represents the intended fabric, then check the project as you work. Use the row counter for progress, while remembering that row counts determine length through row gauge, not stitch gauge. Keep the original measurement, chosen count and expected width together. That record makes a later adjustment understandable instead of leaving you with a cast-on number whose reasoning has been forgotten.