Keep a Project Notebook That Helps You Restart
Record materials, gauge, changes and the next instruction so a knitting project stays understandable between sessions.
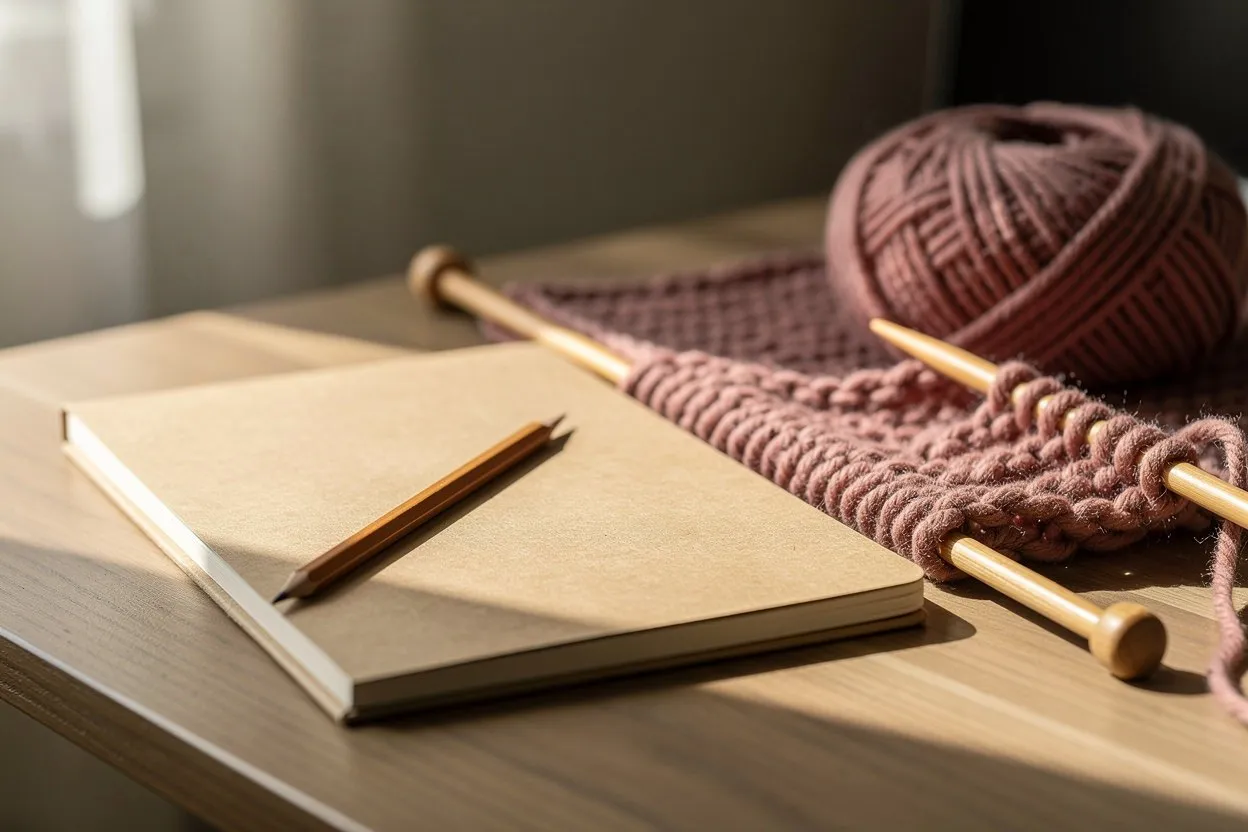
A project notebook does not need to be elaborate. Its job is to preserve the decisions that would be difficult to reconstruct from the fabric alone. A few specific notes can save time when you return after a break, make a matching second piece or try to remember which needle produced a sample. Start with a small consistent set of fields and add detail only when the project needs it.
Record the setup before working
Write the pattern name and source, the version or size you are following and the selected yarn. Include the yarn’s identifying details and the needle size actually used. Suggested tools and actual tools are not always the same after swatching, so avoid copying the materials list without checking your setup.
Keep the relevant instructions accessible through the source you are entitled to use. Your personal notes should point to the pattern and record your work, rather than distributing someone else’s complete instructions. A page reference or section title is often enough to find the next step.
Preserve the gauge and sizing decisions
Record the stitch count, measuring width and any row-gauge measurement. Add how the swatch was treated and whether you changed the needle or yarn. If you used the gauge calculator, write down the final selected count and any adjustment for stitch repeats or edges.
Do not record only “gauge correct.” The actual values are useful when comparing another sample or diagnosing a size difference. If the fabric changed after washing, note both the relevant before and after observations rather than relying on memory.
Write changes as decisions, not mysteries
If you deliberately alter the instructions, record what changed, where and why. “Added two rows before the next section to reach the measured length” is more useful than “changed length.” Keep the original instruction distinguishable from the modification so you can reproduce or reverse the decision later.
For matching pieces, record the first piece’s actual count and finished measurements. A second sleeve or panel is easier to compare when you know how the first was made, not merely what the pattern originally intended.
End each session with one clear line
Use the row counter for the numeric progress, then add a note such as “last completed row 18; next begin section B.” If you stopped halfway through an instruction, say so explicitly. A counter cannot explain a partial row or a decision you were still considering.
Saved website data stays in the current browser or app storage. Keep a separate copy of important project notes if losing that storage would be troublesome. At completion, add the finished dimensions, care information and any useful lesson for another project. The notebook should remain short enough to use, while capturing the few facts that turn an unfamiliar piece of fabric back into a project you understand.