Build a Small Knitting Kit for One Real Project
Choose the tools needed for your current knitting project and keep small accessories organized without buying everything at once.
A useful knitting kit supports the project in front of you. It does not need every needle size or every accessory sold in a craft shop. Start with a simple pattern, identify what it asks for and gather enough tools to work comfortably and keep your place. Add specialized equipment when a project gives it a clear job rather than buying an entire future hobby in one visit.
Let the pattern set the starting list
Read the materials section before choosing yarn and needles. Record the yarn requirements, suggested needle sizes and any additional tools the instructions mention. The suggested needle is a starting point for achieving the required gauge, not a guarantee that your fabric will match it.
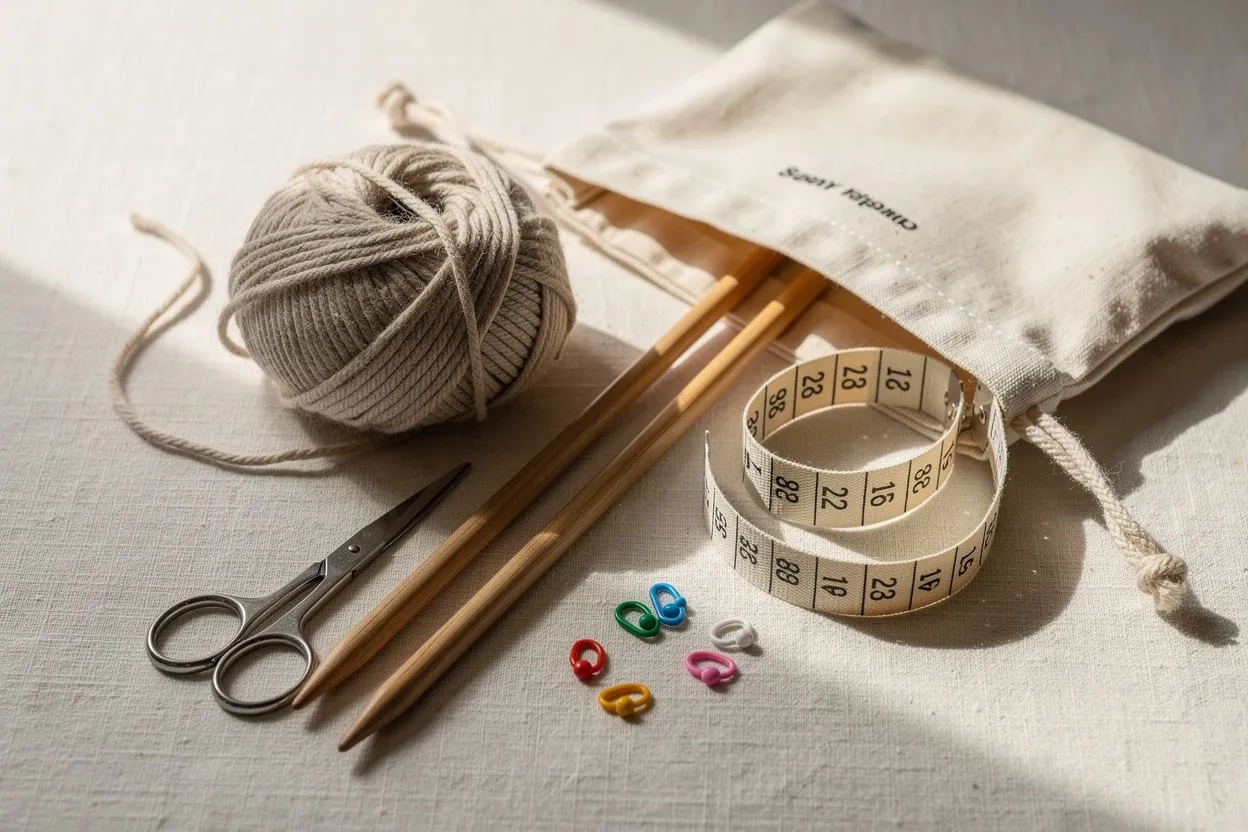
For an early flat project, the practical kit often includes suitable needles, yarn, scissors, a yarn needle, a measuring tool and a way to mark your place. Your pattern may need more or less. Check that the needle arrangement works for the project’s construction; flat and circular projects can require different setups even when they use the same yarn.
Choose a measuring tool you can read easily
A ruler or tape should make the units clear and remain convenient beside the work. For gauge, you need to count stitches over a known distance, so markings must be readable without stretching the fabric. Keep a small note of the units you use; mixing centimetres and inches silently can change a calculation dramatically.
Stitch markers can help divide repeats or identify a location, but use a type appropriate to the task. A marker placed between stitches has a different job from one attached to the fabric. Read the pattern’s instruction carefully rather than treating every marker as interchangeable.
Give small tools one home
Use a pouch or small container for scissors, needles and markers. Protect sharp points and store them appropriately when children or animals may reach the work area. A project bag should hold the work without crushing or tangling it, and should not require emptying every accessory to reach one marker.
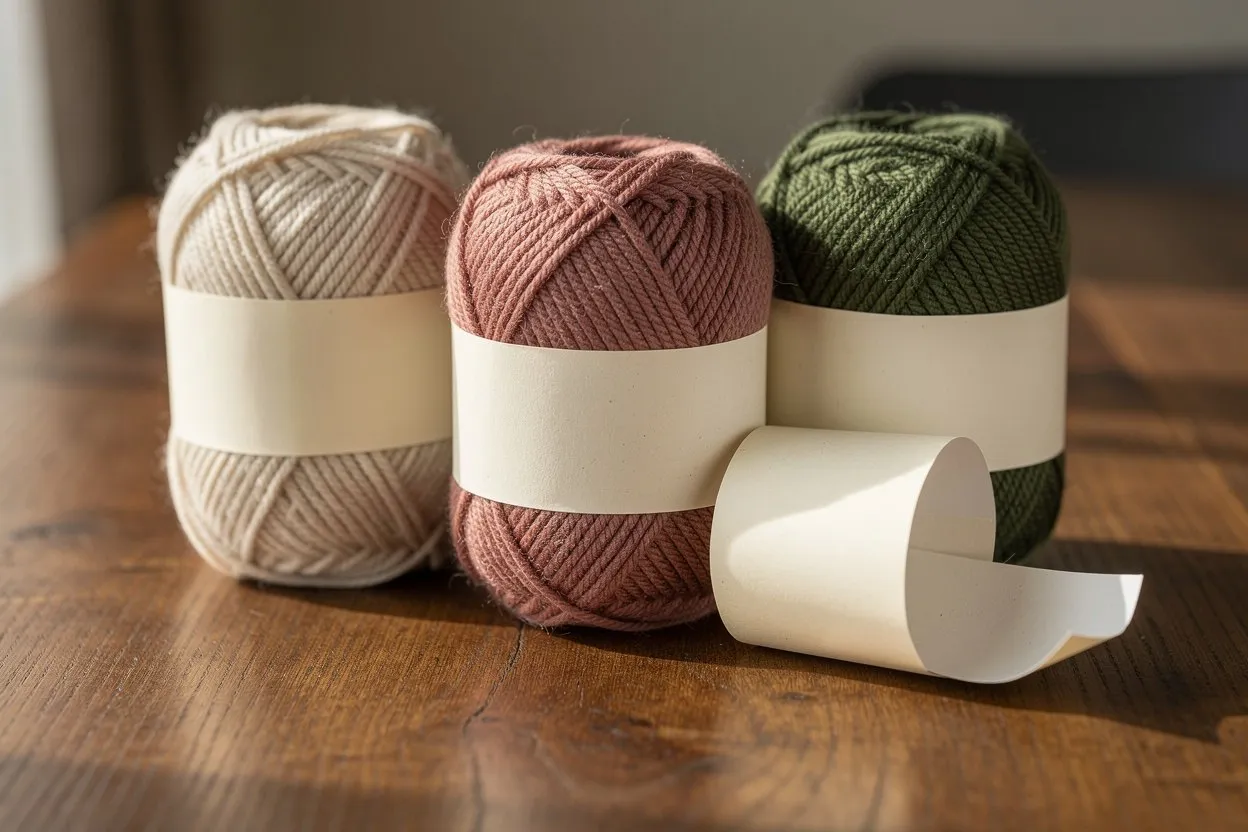
Keep the yarn label with the project. It can contain the product identity, dye-lot information and care instructions you will want later. If you have more than one similar yarn, add a clear project label instead of relying on color alone to identify it.
Add a simple progress record
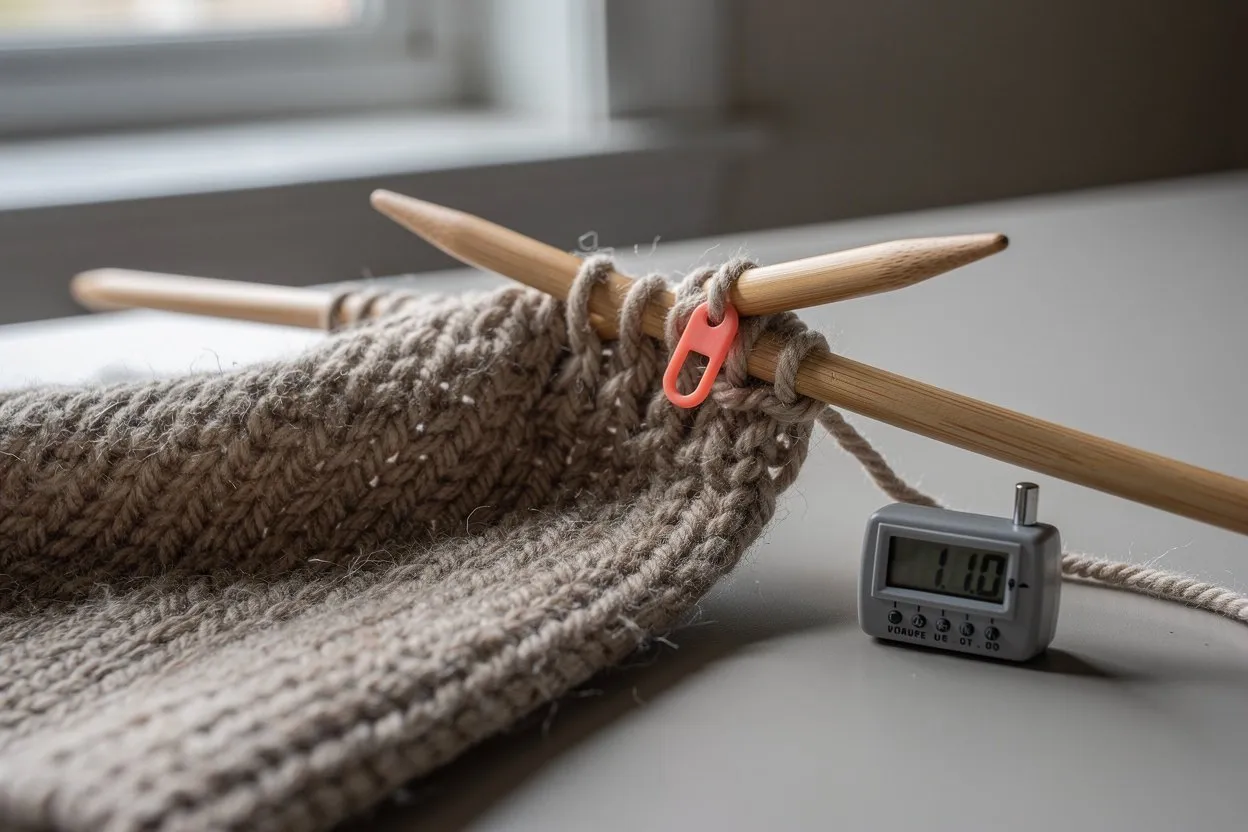
Use the row counter for progress and a short written note for instructions that a number cannot capture. Record the pattern section, the last completed action and anything you changed. A count of 24 is useful only if you know what those 24 rows refer to.
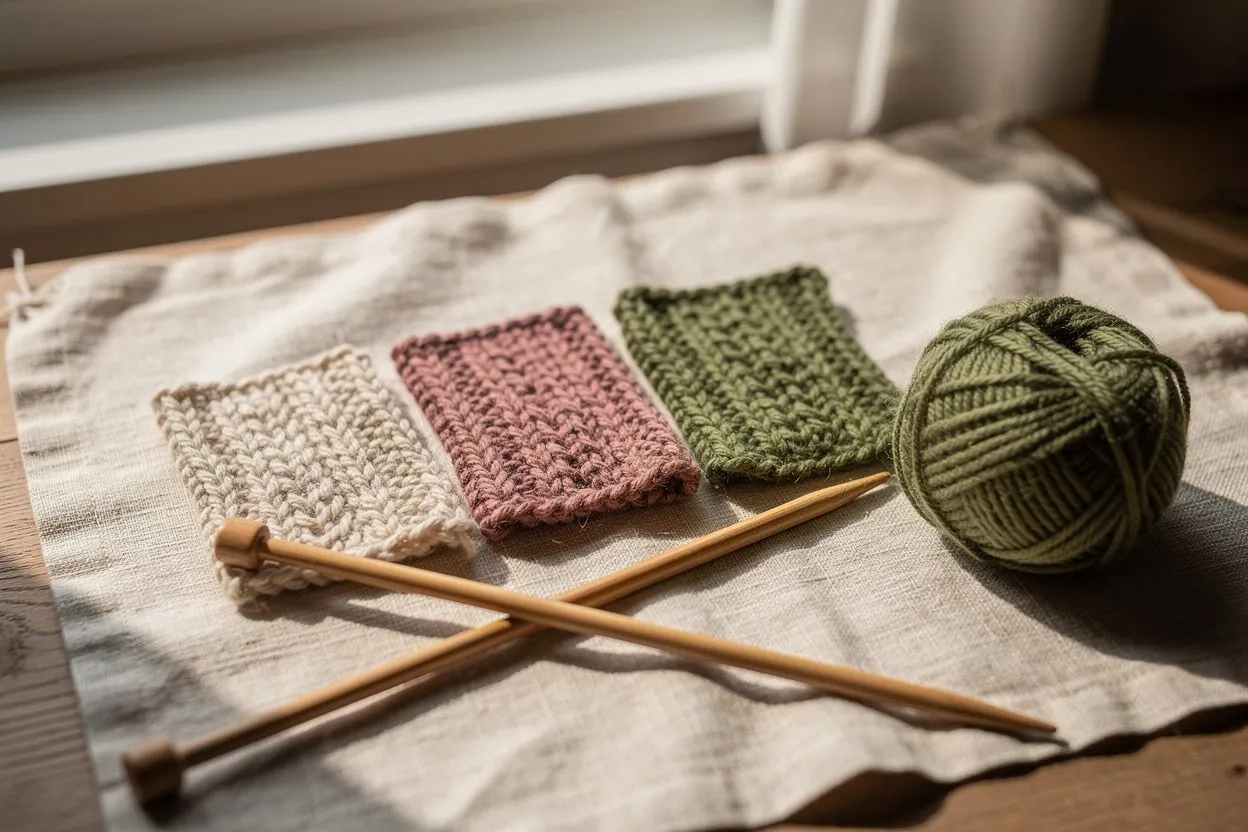
Before beginning, make a small sample and check that the tools feel comfortable and the fabric suits the project. The gauge calculator can help translate measured stitches into a simple width estimate. Keep the first kit small, then notice what you repeatedly borrow or improvise. Those observations give you a sensible next purchase, while unused accessories can wait until a project actually needs them.